The contact management feature in Gmail is a very useful tool that allows you to easily communicate with your contacts and keep track of their information.
1. When you type the name of a contact in the ‘to’ or ‘cc’ field of a new email, a list of matching contacts will automatically pop up. This makes it easier to select the right person to send the email to, without having to manually search for their email address.

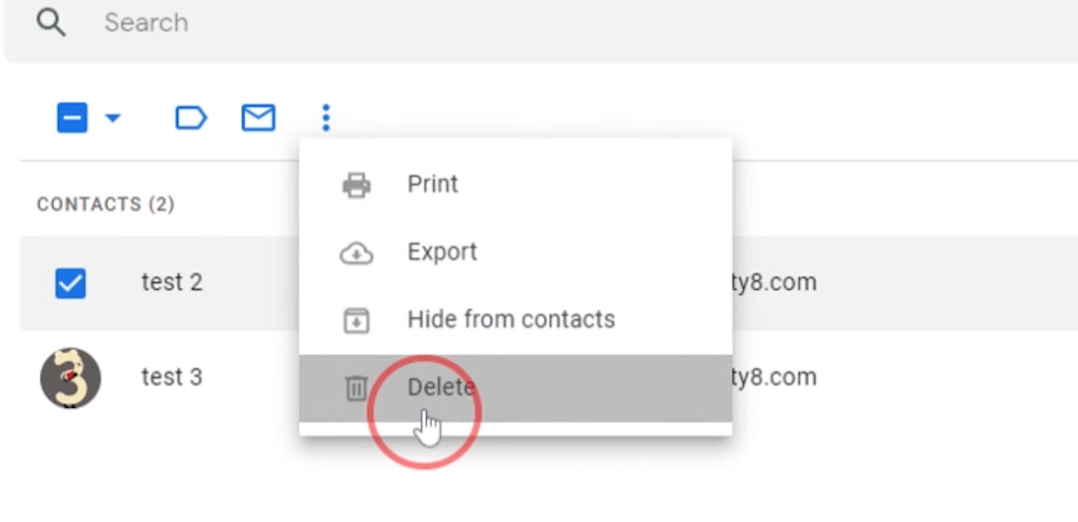
2. If you want to remove a contact from the list, simply click on the top right menu and select ‘Contacts’. From there, you can update or delete any contacts that you no longer need.

3. If you need to update a contact’s information, simply go to the ‘Contacts’ tab and edit their information. The changes you make will be immediately reflected in the contact list in the Gmail composer.

4. This feature is also very useful for organizing your contacts into different groups. For example, you can create a group for work colleagues, family members, or friends, and easily send emails to all of them at once by selecting the group in the ‘to’ or ‘cc’ field.

Mark ALL unread emails in Gmail with one action, without going through the emails page by page.
Set up an auto-reply (auto-responder) when you are not available for a number of days.
 Translate